Stenciling
Easy to learn stenciling effects
Stenciling
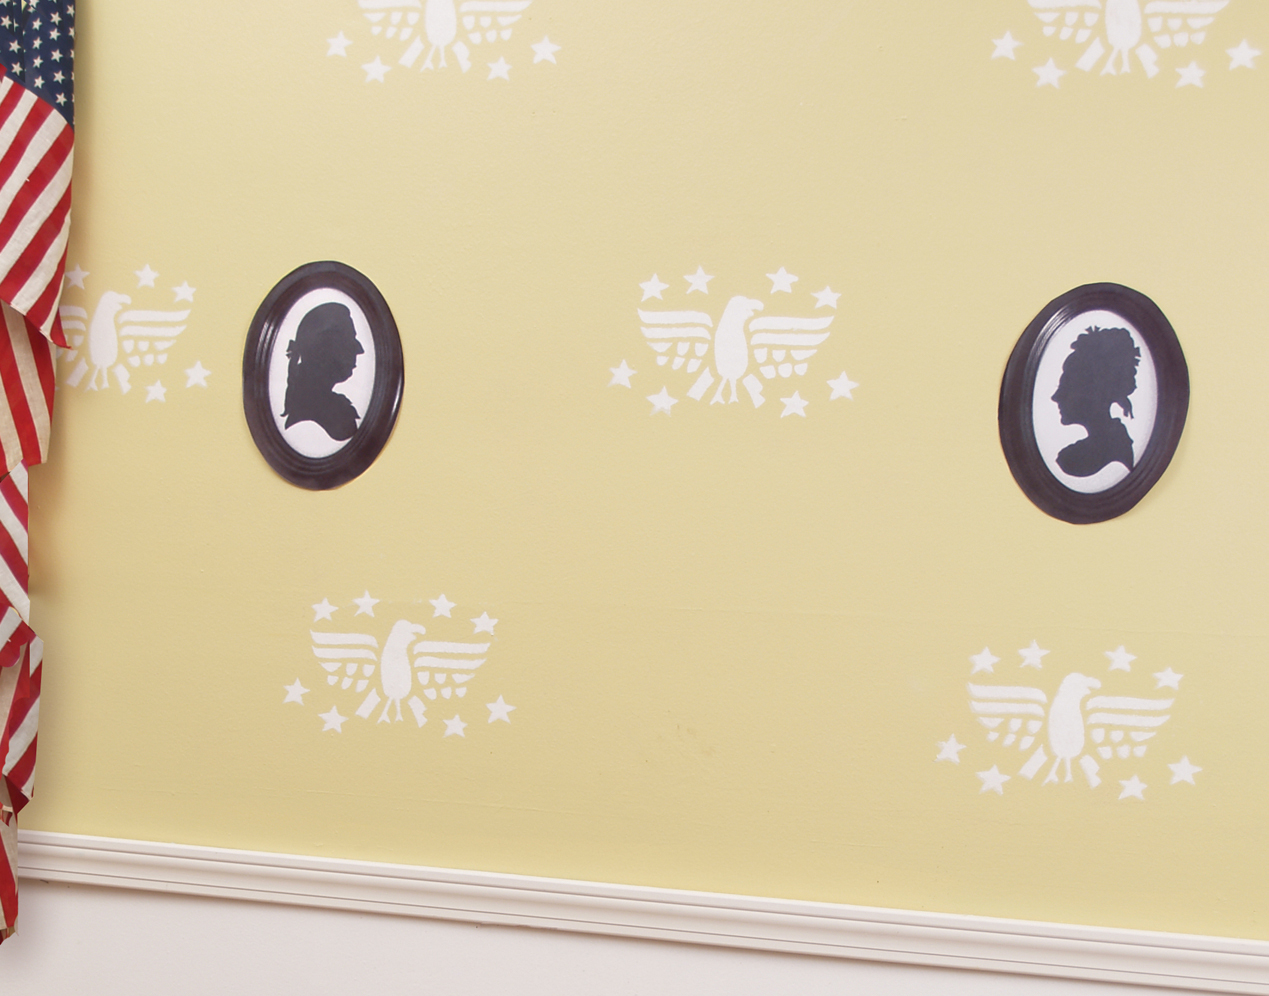
The Decorative effect Stenciling traces its roots as far back as Egyptian times, and has surged in popularity during various periods of history. In the Early American period we find stenciled patterns on a variety of surfaces. Easy to learn stenciling effects. Folk artists enlisted stencil techniques in a multitude of applications, both on furniture and walls. As tastes changed over time, artists have transformed stenciling from a simple pattern repeat process, to a sophisticated and colorful design tool, rich with story lines and decorative symbolism.
Painted Scrolls on Ceiling Beams
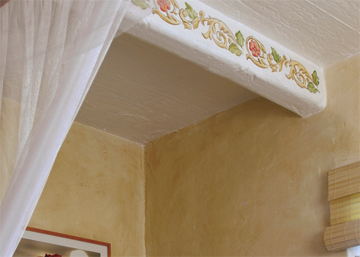
The charm of painted scrolls on ceiling beams needs no introduction. This decorative accent is a delightful addition to any room. And though beams are common elements in many interiors rarely do one see them used as a focal point for decorative applications. Whether you enjoy the old world charm of Italy, or the contemporary flair of a San Francisco loft space, these tech iques can be adapted to suit the most creative inspiration.
Easy to learn stenciling effects
Pro Tip
Choose the right brush.
You can use a straight cut hog bristle brush, commonly sold a ‘stenciling brush’. However, 1 or 2 inch chip brushes can be used by trimming ½ to ¾ inches of the bristles top with sharp scissors. Sponges, both synthetic and marine, are also commonly used in stenciling. Use a sponge for looser, folk art patterns, but use a brush for more refined and intricate patterns.
Artist acrylic paints are ideal for stenciling. In the stenciling process paint is applied with a brush in an almost dry manner. Acrylic paints dry almost on impact and with the extensive range of colors, any combination can be achieved in a quick and efficient manner. You may consider doing a test sample on a sheet of newspaper first to get a feel for the process, to see the manner in which the paint is applied and determine the actual color intensity of the paint application process.
Base color –

Stencil color 1 –

Before you start
Stencil Basics
Sheets of clear acetate and oiled stencil card are the most common materials used for cutting stencil patterns. Opaque oiled stencil card is easier to cut with a sharp craft knife than transparent acetate. Acetate is a bit more brittle and can split more easily than oiled stencil card. However, both materials work sufficiently, and since transparent acetate is more readily available, I’ve chosen it as my preferred medium in this tutorial. For large areas it is recommended that you make duplicate stencil patterns, as they tend to wear and tear over modest usage.
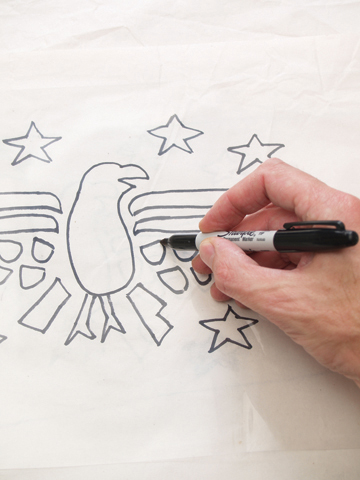
Step 1:
Transferring images to create stencil
Place the transparent acetate over the image you are using to stencil. Use a fine point Sharpie pen to trace the image directly onto the acetate.
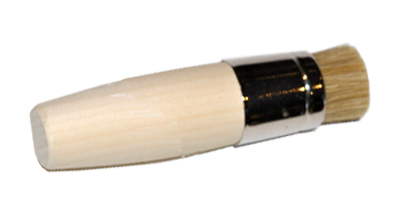
Stencil Brush
Stencil Brushes are special brushes with short firm bristles. When used properly they distribute a thin and even layer of paint. This reduces the chance of getting paint under the edge of the stencil. Our high quakity stencil brushes are made in Germany and available in various sizes.
learn more and purchase!
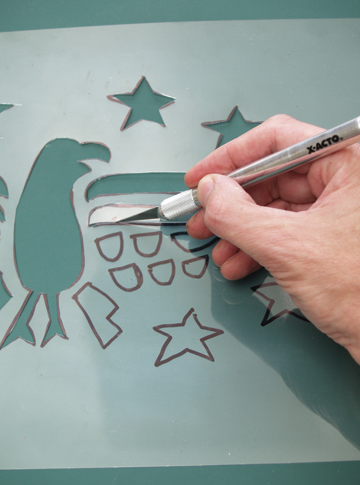
Step 2:
Cut stencil pattern.
Cut the pattern out of your stencil material using a sharp craft knife. To insure clean cut lines it is important to keep the blade sharp, so change to new blades often. Use a professional cutting board, newspaper, or glass under your stencil when cutting out the pattern.
You can also use hole punches and scissors where necessary to make the appropriate pattern.
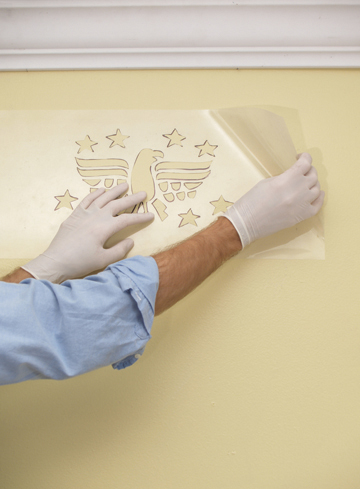
Step 3:
Apply basecoat and apply stencil.
Basecoat the surface with Plymouth Yellow. Let dry (6 to 8 hours). Position and attach the stencil by applying a thin coat of spray adhesive over the back of the stencil. Pieces of Painter’s tape can also be an effective way to adhere your stencil pattern in place.
Step 4:
Load brush
Place stencil color 1, Falmouth Sand, on a paper palette. The golden rule of stenciling is to use an almost dry brush. Pick up a small amount of color on the tip of your brush. First ‘pounce’ or blot the loaded brush on newspaper to remove any excess paint. Carry only a small film of paint on the brush.
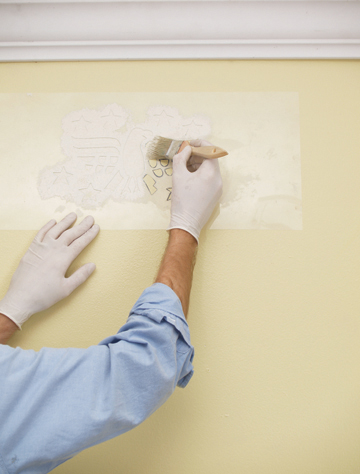
Step 5:
Apply paint
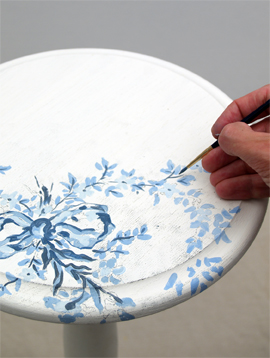
Holding the stencil with one hand, begin to dab the surface with your loaded, dry brush. Use round scrubbing motions to apply the color. Work from the center of the cut-out towards the edges to minimize paint build up (and potential bleeding) around the corners and edges of the stencil pattern. .
You can also apply more than one color to the pattern. For example, if you are stenciling leaves, you can apply a blush of green over the leave, and add a darker green on one side to simulate a shadow line. Often a bit of color that mixes from one ‘zone’ to another adds charm and character. You can determine if this is the look you are going for as you work through this process.
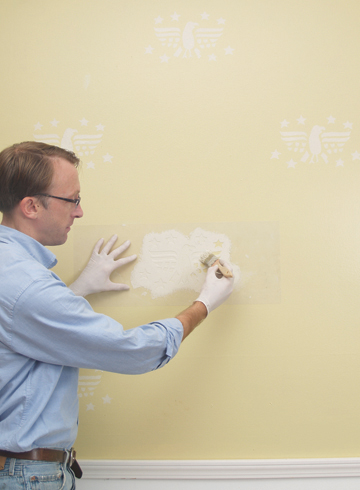
Step 6:
Repeat stenciling
Carefully remove the stencil to view the pattern created. Repeat this process as necessary. It may be necessary to wipe the stencil to remove excess paint build up. For large areas and detailed stencils it is helpful to have duplicate stencils in case of tears or breaks in the pattern.
Step 7:
Varnish
On floors and furniture it may be necessary to apply a protective coat of clear sealer to insure that your stencil lasts for many years. For borders on walls, particularly ones that are near the ceiling, it may not be necessary to protect the pattern with varnish. For furniture and floors it is recommended to do so.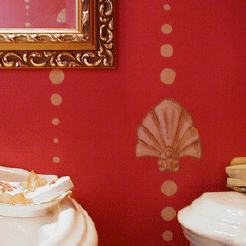
Combine and experiment stenciling with other decorative paint effects and wall finishes: painted stripes, rag rolling furniture and objects.
Early American Style
Colonial Amercians drew inspriation from their European heritage. Curent design styles would filter across the ocean and become reinventedin early America. Proportion and scale took reign over ornementation, A neutral color palette of grey blue, greens and rose pinks is readily apparent.

Venetian Plaster
Polished Plaster, or Stucco Veneziano, is a Traditional wall treatment that provides a glossy, visually textured wall finish. Venetian Plaster is a natural formula composed of organic ingredients, calcium, and acrylic binders creating a decorative paste plaster for interior applications. Polishing the surface compresses the calcium within the compound, creating a narble-like finish, cool and hard to the touch.
This treatment is quite versitile, ranging from a rustic backdrop to a refined and elegant finish.
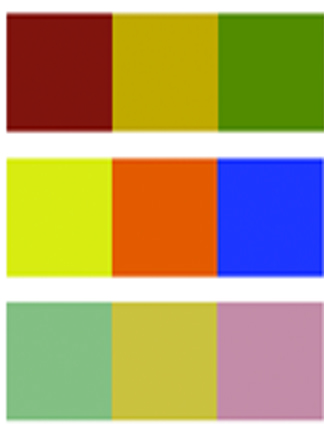
The Rustic Color Palette
The Rustic Style color palette falls within a distinct range of color tones and is essential in creating a successful Rustic interior. By using the appropriate color tones you can create a variety of design styles ranging from Period and Historic, regional or thematic. Color helps define our experiences within an interior and exterior environment. It affects us on a physical, emotional, and spiritual level and can be calming and passive, expressive and vital.
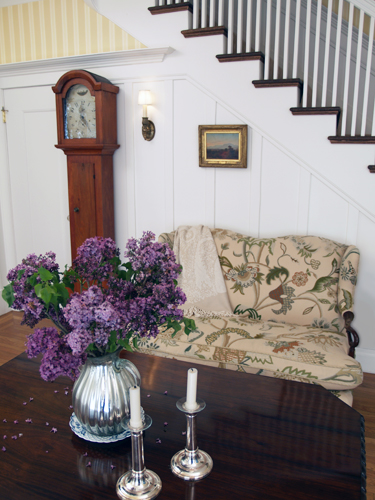
Painted Floral Details
Floral patterns used as accents in fabrics and furniture are common place details in the English Country home. These graceful and organic patterns complement the cozy interior of this style and work particularly well with lace window treatments, an heirloom tea service set and the natural and rustic charm of wooden ceiling beams and slightly irregularly textured walls.