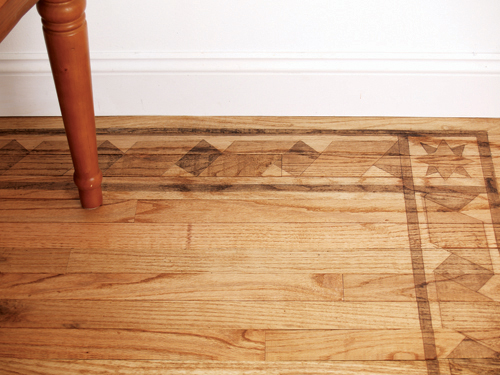
Inlay Floor Effects
This process imitates the appearance of individual pieces of wood inlayed as a border to a wooden floor. A variety of patterns can be created, often imitating an assortment of wood types such as mahogany, oak, pine, ebony and maple. I’ve found this treatment to be a successful method of creating a period feel within a range of styles. And since there are very few design limitations you can create wonderfully unique floors to fit your style.
Color Essentials
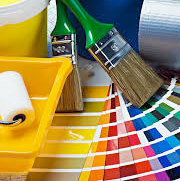
Mixing with Color.
Create custom color schemes and color effects in your home or office. Learn how to use the best base color, create a glaze, mixing colors, and more. Using color at home or in the office - for paintings, furniture or any artistic challenge - takes a good eye, a little know how, and a creative imagination.
Step 1:
It is necessary to create this effect over an unfinished floor. You can start on a newly installed wood floor, you may wish to refinish an existing floor therefore having the floor finish stripped, or you can isolate the area you would like the border to be and sand that area only, exposing raw wood. Which ever method works best for you, using this technique on unfinished floor boards will create an authentic inlayed appearance.
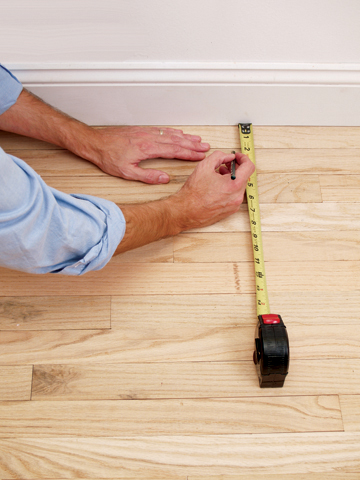
Step 2:
I begin mapping out my boarder dimensions using a pencil and tape measure. For most floors a 6 inch to 8 inch border width is ideal. I first create a frame as a holding line for my border pattern, usually about ½ inch thick for the inside and outside boundary of my pattern. Starting 1 ½ inches away from the wall edge, I begin marking my guide lines with a pencil. I mark at the 1 ½ inch, 2 inch then again at 7 inches and 7 ½ inches. This makes my entire boarder thickness at 6 inches, with a 5 inch center field.
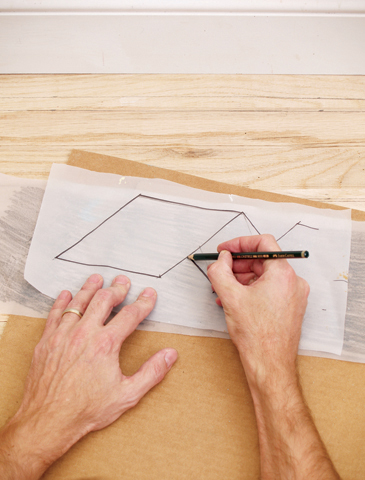
Step 3:
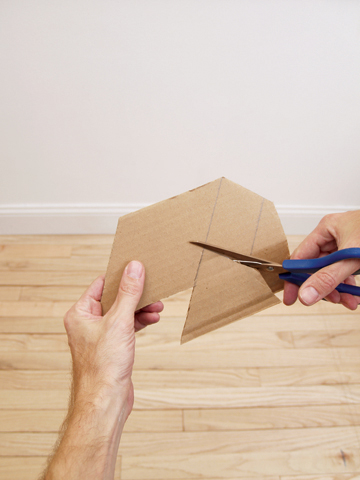
The center pattern will consist of a simple pattern repeat. I’ve sketched out the pattern on tracing paper and after making a few adjustments, I cut the form out of a cardboard panel. This will act as my template.
Step 4:
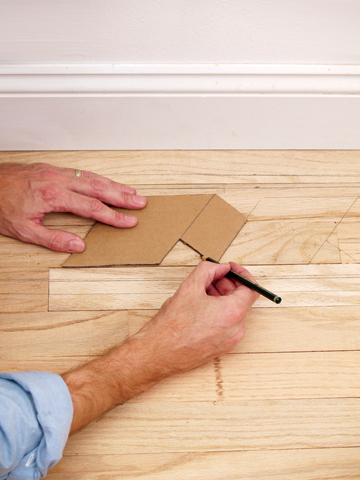
Placing the template into position between the boarder frame lines I trace the shape, continuing down the length of the floor, until I have reached the opposite side.
Step 5:
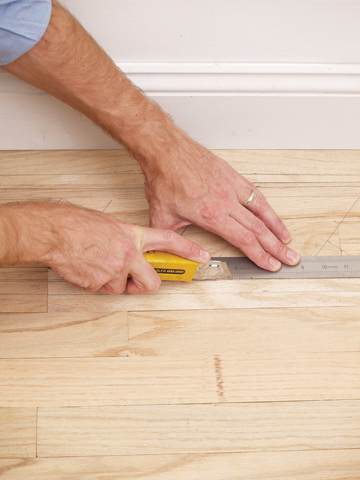
Using a metal straight edge and a sharp razor blade or matt knife, I carefully cut along my pencil outlines. The purpose of this is to create a clean inscribed line across the wooden floor boards. When the fluid wood stain is applied to the raw wood, the incised lines will prevent the stain from bleeding past the line, creating a crisp, sharp edge to the stained ‘inlayed’ shape.
Step 6:
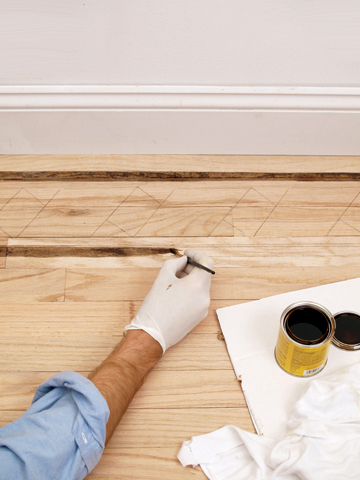
Using my No. 4 brush, I apply the Dark Walnut wood stain to the outside ½ inch border frames. When applying the wood stain, set the brush within an 1/8th inch away from the incised edge. The raw wood will naturally pull or soak up the wood stain, drawing it outward. Keeping the stain just inside the cut edge will allow the wood to draw the color to the boarder and stop at the incised line.
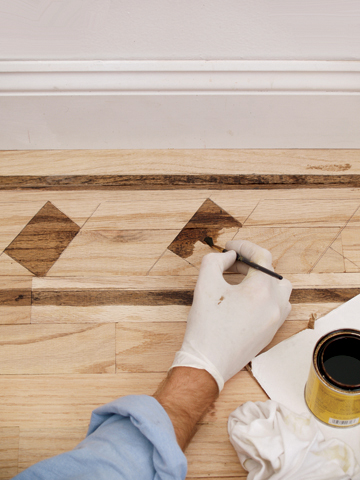
Step 7:
I repeat this process with the center motifs, painting every other segment in the Dark Walnut stain.
Step 8:
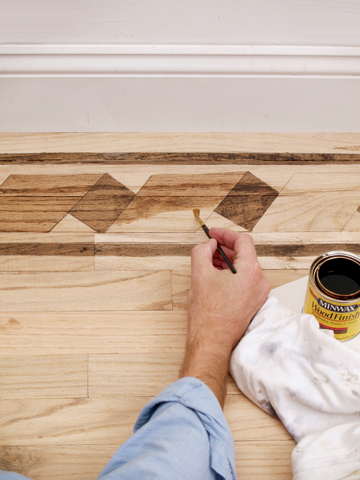
Next I apply the second wood stain, Cherry, to the remainder of the center motifs.
Step 9:
I’ve selected a star shape as a corner detail. I follow the same procedure use for the border. First I transfer my star pattern, followed by cutting the lines with a matt knife. The wood stain is then applied.
Step 10:
A latex satin sheen clear varnish should be applied to the entire floor as a sealer. Generally 2 to 3 coats are recommended. Use a short nap roller to apply the varnish. Roll the varnish in straight motions from one end of the floor to the other. Always roll in the direction of the wood grain. I use a brush to cut in the edges and corners.
More ways to use this technique!
Floor patterns can be diverse and creative. This technique allows for a wide variety of patterns and colors that go beyond even the potential of real wood inlay. Use this technique for furniture too! Visit our hand painted game table tutorial and use this inlay technique to customize your own family fun!

This simulated inlay floor uses the center field to create a large tile effect, with the boarder adding interest and wider color options to fully accent the room.
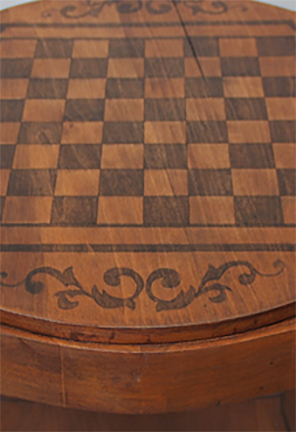
Learn to create this game table pattern, or make one up on your own.
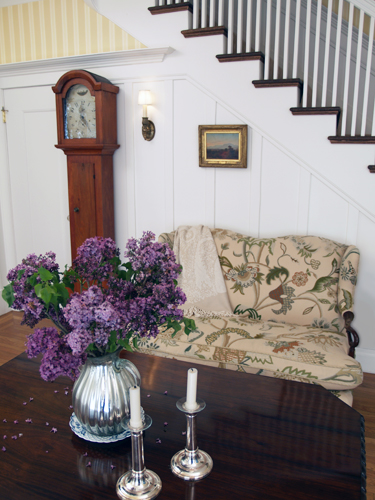
Early American Style
Colonial Amercians drew inspriation from their European heritage. Curent design styles would filter across the ocean and become reinventedin early America. Proportion and scale took reign over ornementation, A neutral color palette of grey blue, greens and rose pinks is readily apparent.
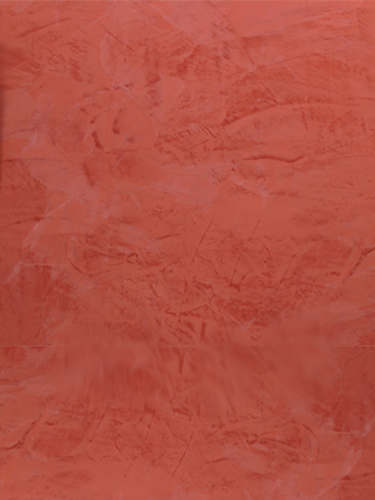
Venetian Plaster
Polished Plaster, or Stucco Veneziano, is a Traditional wall treatment that provides a glossy, visually textured wall finish. Venetian Plaster is a natural formula composed of organic ingredients, calcium, and acrylic binders creating a decorative paste plaster for interior applications. Polishing the surface compresses the calcium within the compound, creating a narble-like finish, cool and hard to the touch.
This treatment is quite versitile, ranging from a rustic backdrop to a refined and elegant finish.
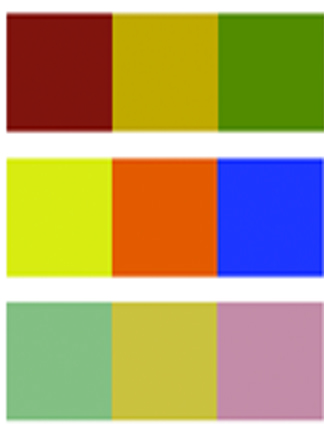
The Rustic Color Palette
The Rustic Style color palette falls within a distinct range of color tones and is essential in creating a successful Rustic interior. By using the appropriate color tones you can create a variety of design styles ranging from Period and Historic, regional or thematic. Color helps define our experiences within an interior and exterior environment. It affects us on a physical, emotional, and spiritual level and can be calming and passive, expressive and vital.
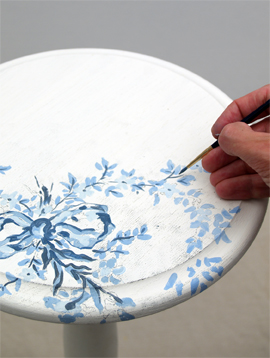
Painted Floral Details
Floral patterns used as accents in fabrics and furniture are common place details in the English Country home. These graceful and organic patterns complement the cozy interior of this style and work particularly well with lace window treatments, an heirloom tea service set and the natural and rustic charm of wooden ceiling beams and slightly irregularly textured walls.