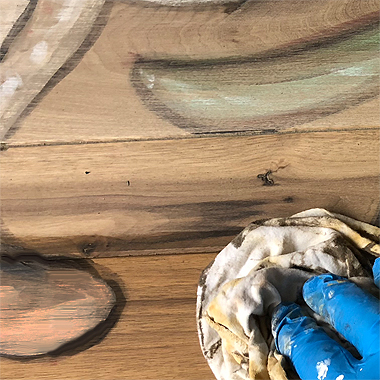
Faux Wood Grain
Faux Bois — Warm, rustic, and surprisingly believable.
This easy faux wood graining technique lets you create the look of natural pine on cabinetry, doors, trim, and furniture—using glaze, a few brushes, and a simple graining tool.
Simulated wood-grain, or faux bois, is a practical and economical way to create realistic wood treatments, especially when you want the warmth of timber in a rustic environment without the cost (or limitations) of real wood. It works beautifully on cabinetry, doors, trim, and objects such as boxes and storage containers. By varying the secondary glaze color from pale cream to deep brown, you can quickly achieve a wide range of authentic-looking wood grain appearances, from sun-washed pine to richer, aged tones.
The real secret is rhythm: long vertical pulls for the “growth” lines, gentle variations to keep it natural, and a few knots or cross-grain moments to make it feel like real pine. Work in confident passes, then step back and let the pattern “settle” visually, often the most natural grain happens when you don’t overwork it. Take your time on the first panel, and you’ll find the process becomes almost meditative... glaze, drag, reveal.
Where This Finish Works Best
- Cabinet doors & drawer fronts (flat or recessed panels)
- Interior doors & trim (especially in rustic and Tuscan-inspired spaces)
- Furniture like chests, armoires, benches, and storage boxes
- Accent pieces—frames, shelves, toe-kicks, and decorative panels
Good to know: This technique is forgiving. If a section feels too heavy, you can soften it while the glaze is still wet, then re-drag to restore clean grain lines. Keep a clean rag nearby and use light pressure. Small adjustments make a big difference.
Finish choice matters: A satin topcoat feels most like real wood and keeps the look relaxed and natural. Gloss can look more “sealed,” which is great for heavy-wear areas, but it reads less rustic. When in doubt, test your topcoat on a sample board first and view it in the same lighting as the final space.
Color Palette
Base color – Aged Pine

Your base coat is the “wood underneath.” Keep it smooth and even—this is what shows through the grain.
Glaze color – Earthen Timber

Your glaze is the “grain ink.” Thin it to a creamy consistency so it drags cleanly without drying too fast.
Materials Checklist
Here’s the short list you’ll actually use during the process:
- Latex eggshell sheen paint (base coat)
- Latex glazing liquid + water (for working time)
- Universal tinters (Raw Umber, Burnt Sienna, Ultramarine Blue)
- 2–3" brushes (one for glaze, one dry for softening)
- Wood graining tool (wide teeth + curved knot-maker)
- Cotton rags, drop cloth, disposable gloves
- Clear satin sealer/topcoat (for protection)
Step-by-Step Faux Wood Graining
Work one panel at a time. The goal is a consistent direction of grain, with small variations that feel natural—not repetitive.
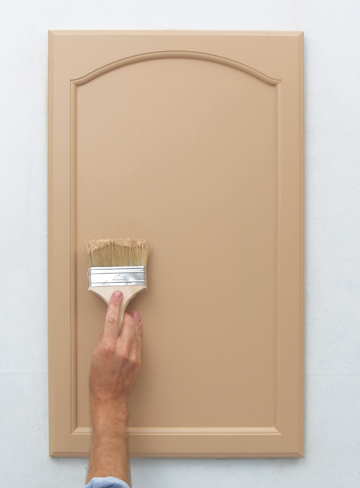
Step 1: Prepare and apply the base coat
Prepare the surface so it’s clean, smooth, and ready to accept paint. Apply the latex eggshell base color—Aged Pine—using a mini roller for larger areas and a 3" brush for edges and profiles. A smooth base coat makes your grain lines sharper and more believable.
Pro tip: If you see roller texture, lightly back-brush in the direction your grain will flow.
Step 2: Create the glaze
Mix Raw Umber, Burnt Sienna, and Ultramarine Blue in a 6:4:1 proportion. Combine with latex glazing liquid and water in a 2.5 qt bucket. Mix enough glaze to complete the project so the color stays consistent from door to door.
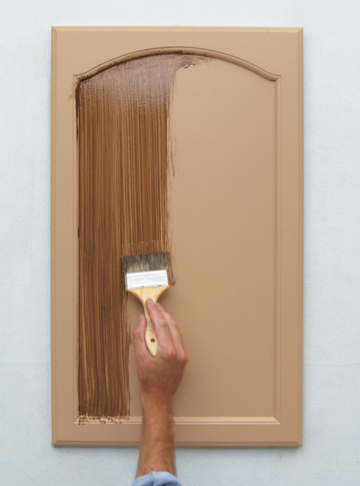
Step 3: Lay the first glaze pull
Start by applying the glaze in a straight vertical direction, from top to bottom. Keep a steady rhythm—long pulls read like real growth lines in wood. Don’t worry if it looks heavy at first. The next steps refine and reveal the grain.
Step 4: Work the borders and frames
Add glaze to the upper, lower, and side areas. Treat rails and stiles like real wood pieces—maintain direction, but allow slight changes where wood would naturally join.
Pro tip: Keep your “grain direction” consistent across a door set so everything feels intentional and crafted.
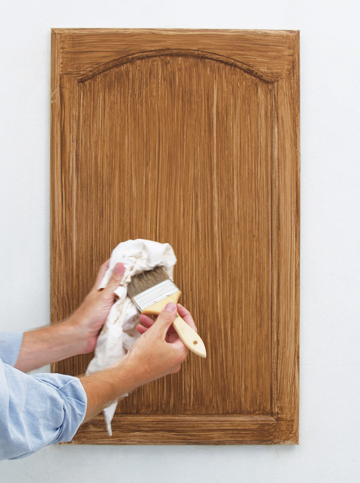
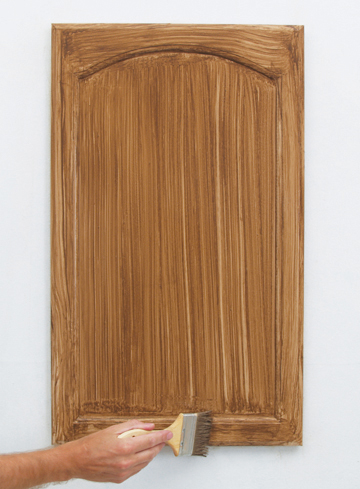
Step 5: Refine grain with a dragged brush
Wipe excess glaze from your brush with a clean rag, then repeat vertical dragging motions over the panel to emphasize the grain. This creates thin, clean lines and begins to “open up” the look of the base coat beneath.
What you’re aiming for: Thin and thick variations—like real pine—rather than perfectly even stripes.
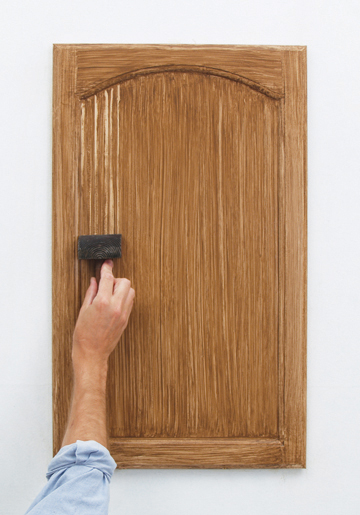
Step 6: Use the wood graining tool (wide teeth)
Most graining tools have two sides. Start with the wide “teeth” to loosely drag through the glaze. This removes glaze and creates broader grain channels that complement the finer brush lines from Step 5.
Pro tip: Clean the tool edge often. A quick wipe keeps your lines crisp and prevents muddy buildup.
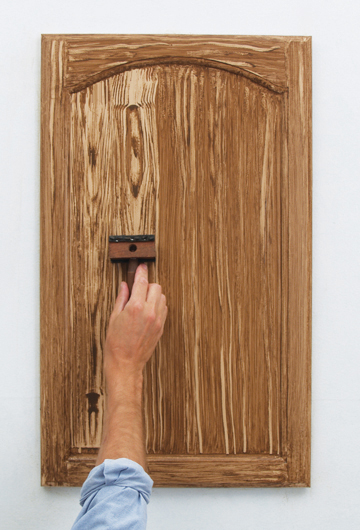
Step 7: Flip the tool to create knots and cross-grain
Use the curved side of the tool to form the cross grain and knotted appearance of pine. Starting at the top, pull the tool down and gently roll over the curved surface as you move. This variation is what makes the finish feel “wood-like” rather than “striped.”
Keep it subtle: A few knots go a long way. Too many can look decorative instead of natural.
Step 8: Seal and protect
Once dry, apply a clear satin finish sealer over the panels to protect your faux wood grain. Satin reads most authentic for rustic interiors, while gloss increases durability for high-use doors and cabinetry.
Featured Products
Everything you need to build convincing wood grain: working-time glazes, pro brushes, tint colors, and durable sealers.
Ready-to-use glaze colors—or custom matched to any major paint brand. Perfect working time for faux bois, dragging, strié, and antiquing.
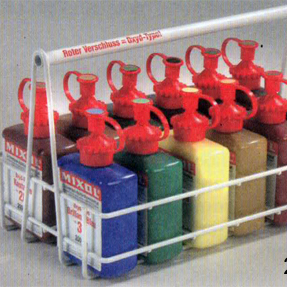
Universal Tinters
Build your glaze color with classic earth tones. Raw Umber, Burnt Sienna, and Ultramarine Blue let you dial in warm pine to deep timber.
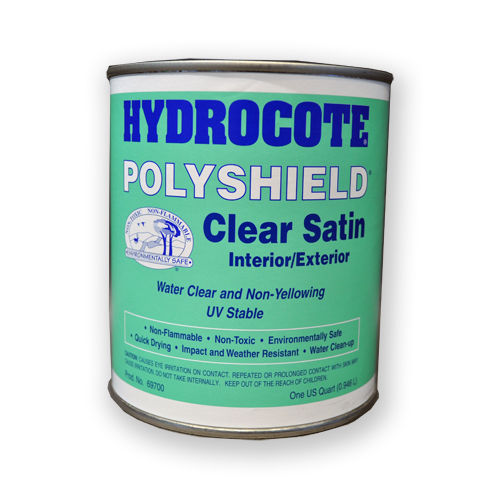
Clear Sealers / Topcoats
Lock in the finish with a durable clear coat. Choose satin for a natural wood look, or gloss for maximum protection.
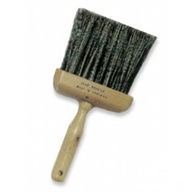
Brushes for Faux Finishes
Clean pulls, soft blending, and crisp edges. A good 2–3" brush makes the difference between muddy glaze and believable grain.
Faux Finishing Supplies
Stock your kit with the essentials: glazing mediums, tools, applicators, and finishing materials for decorative paint effects.
Antique Glazes
Add age and depth—perfect for rustic environments. Antique glazes pair beautifully with faux wood grain for a timeworn patina.
Related Features
Early American Style
Colonial Amercians drew inspriation from their European heritage. Curent design styles would filter across the ocean and become reinventedin early America. Proportion and scale took reign over ornementation, A neutral color palette of grey blue, greens and rose pinks is readily apparent.
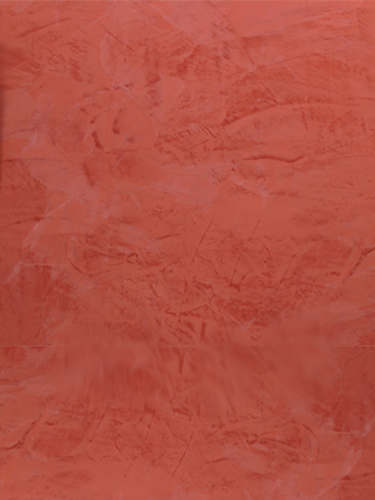
Venetian Plaster
Polished Plaster, or Stucco Veneziano, is a Traditional wall treatment that provides a glossy, visually textured wall finish. Venetian Plaster is a natural formula composed of organic ingredients, calcium, and acrylic binders creating a decorative paste plaster for interior applications. Polishing the surface compresses the calcium within the compound, creating a narble-like finish, cool and hard to the touch.
This treatment is quite versitile, ranging from a rustic backdrop to a refined and elegant finish.
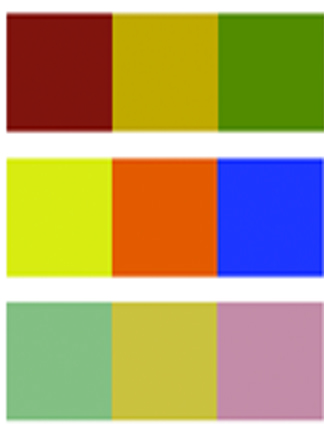
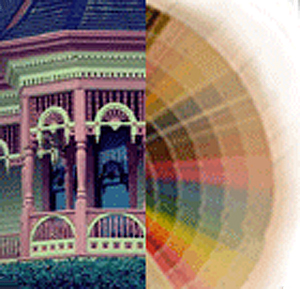
The Rustic Color Palette
The Rustic Style color palette falls within a distinct range of color tones and is essential in creating a successful Rustic interior. By using the appropriate color tones you can create a variety of design styles ranging from Period and Historic, regional or thematic. Color helps define our experiences within an interior and exterior environment. It affects us on a physical, emotional, and spiritual level and can be calming and passive, expressive and vital.
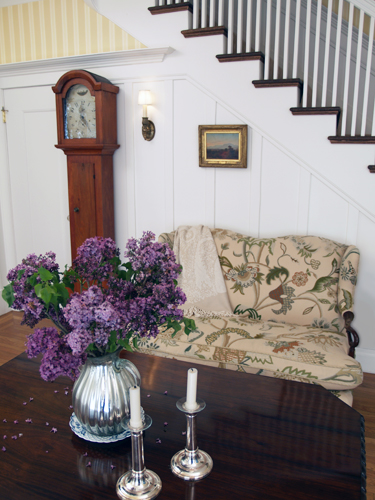
Painted Floral Details
Floral patterns used as accents in fabrics and furniture are common place details in the English Country home. These graceful and organic patterns complement the cozy interior of this style and work particularly well with lace window treatments, an heirloom tea service set and the natural and rustic charm of wooden ceiling beams and slightly irregularly textured walls.