Material Basics - Basic surface preparation
How to prepare any surface for painting, glazing and faux finishes.
Learn the essentials for preparing any surface for paint or decorative finish techniques. Proper preparation of your surface before painting is essential in creating a professional finish. Whether prepping your walls for paint, or preparing a frame for gold leaf, learning these basics will help create successful projects every time.
Basic Preparation of surfaces for painting, glazing and decorative effects
Definition: The base surface is the substructure onto which any finish painting or decoration is applied. It includes plaster, drywall, wood and metal trim, and furniture in its original unfinished state.
Meticulous and thorough preparation of the base surface, whether interior or exterior, ensures the quality and success of any project. Doors and windows, ceilings, floors, furniture and objects, whether to be painted, varnished, or treated with decorative techniques such as glazing, wallpapering or tiling, need to be carefully primed. Understand about the best type of material to use for your project. Learn how to best prepare your project for optimal results. And do it all in a safe and evironmentally conscious manner. Think safe, be safe!
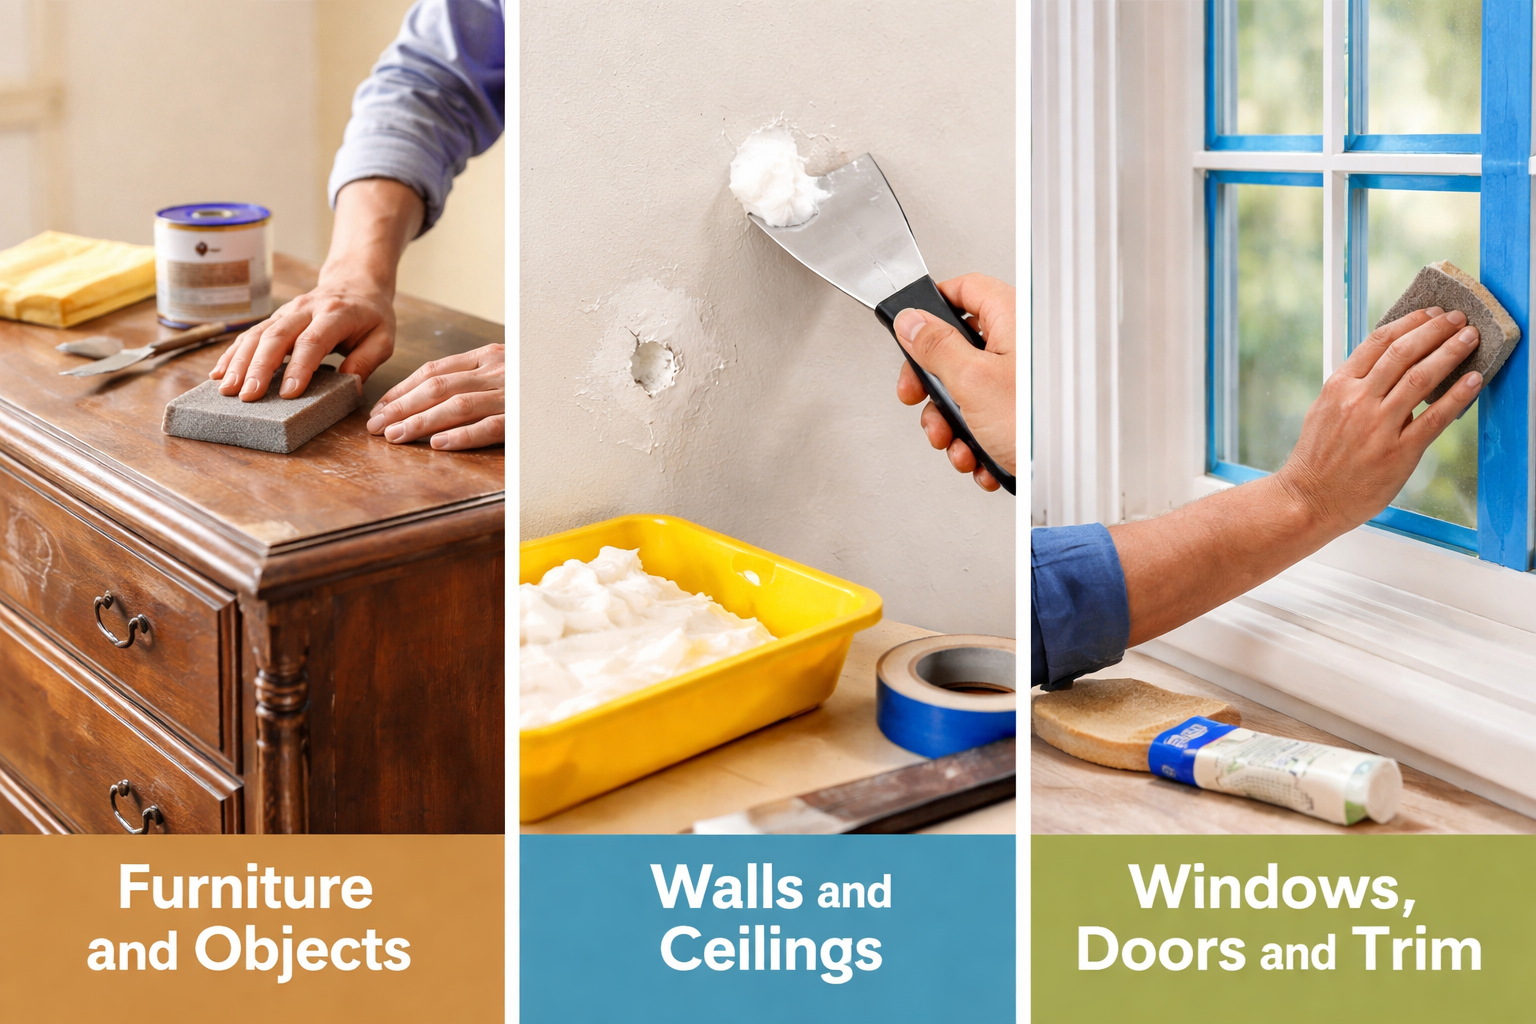
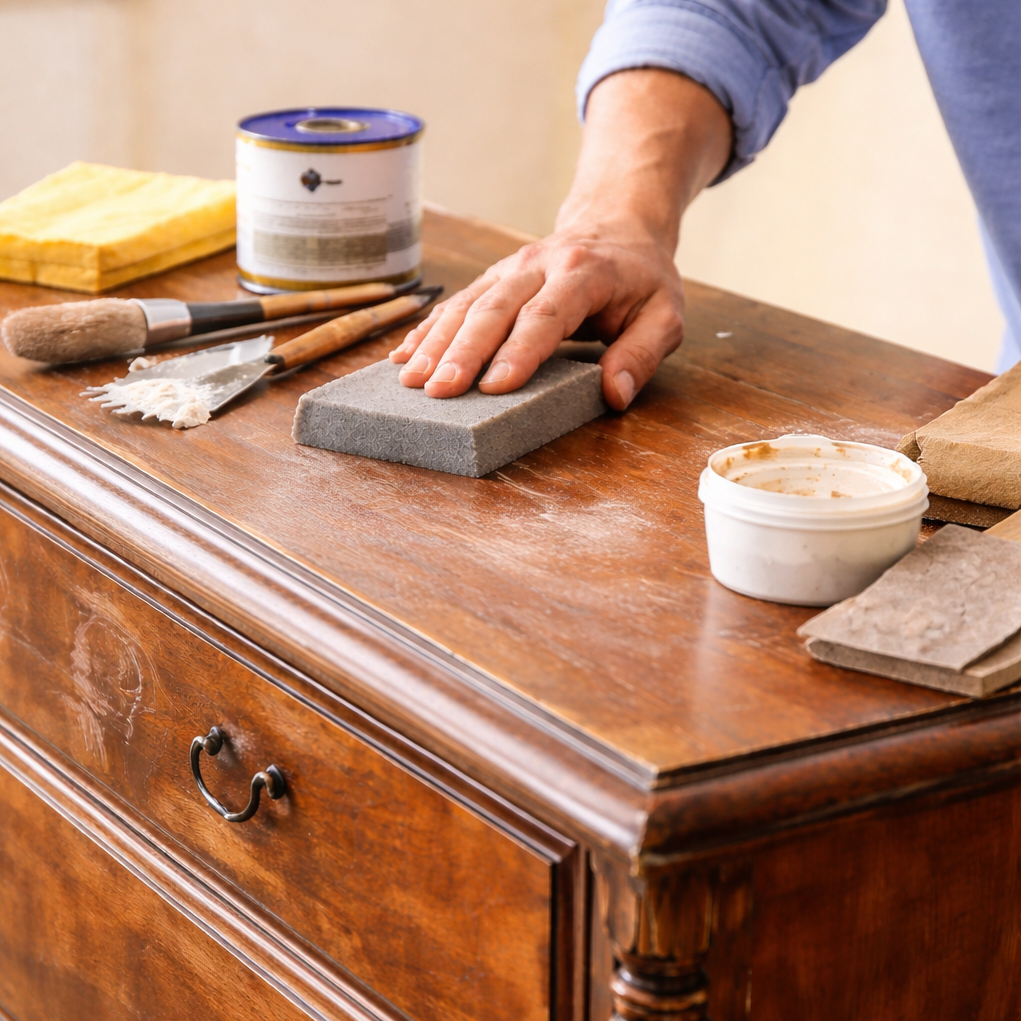
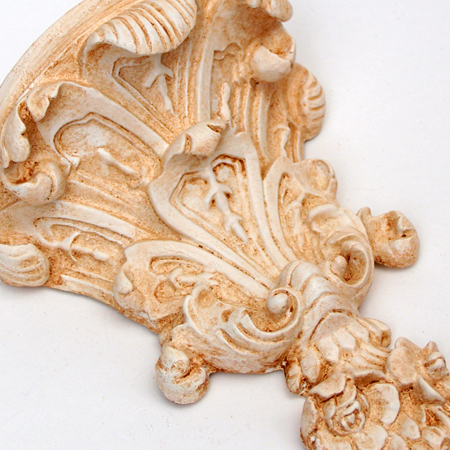
Furniture and Objects
Thorough preparation is essential when working on furniture, frames, architectural objects, or decorative accessories. Begin by thoroughly cleaning the piece to remove dust, grease, wax, oils, or residue from previous finishes. If needed, use a mild detergent or degreasing cleaner, then rinse with clean water and allow the surface to dry completely.
Once clean, lightly sand the entire surface, sanding in the direction of the wood grain when applicable. The objective is to create tooth—a slightly roughened surface that allows primers, paints, and decorative layers to properly adhere. The goal is not to remove all of the existing finish, but to degloss smooth or sealed surfaces so the next layer can effectively “bite” onto the substrate.
Inspect the piece closely and fill dents, cracks, nail holes, or imperfections with an appropriate wood filler or patching compound. Allow the filler to dry completely, then sand the repaired areas smooth so they blend seamlessly into the surrounding surface. Remove all sanding dust using a vacuum, soft brush, or tack cloth.
Next, prime the surface with the appropriate primer for the material and finish system being used. A quality primer improves adhesion, evens out absorption, and creates a consistent base for subsequent layers. Once the primer has fully dried (and cured, when required), begin applying a base color (for decorative techniques such as glazing or faux finishes) or a finished coat (for a one-color application).
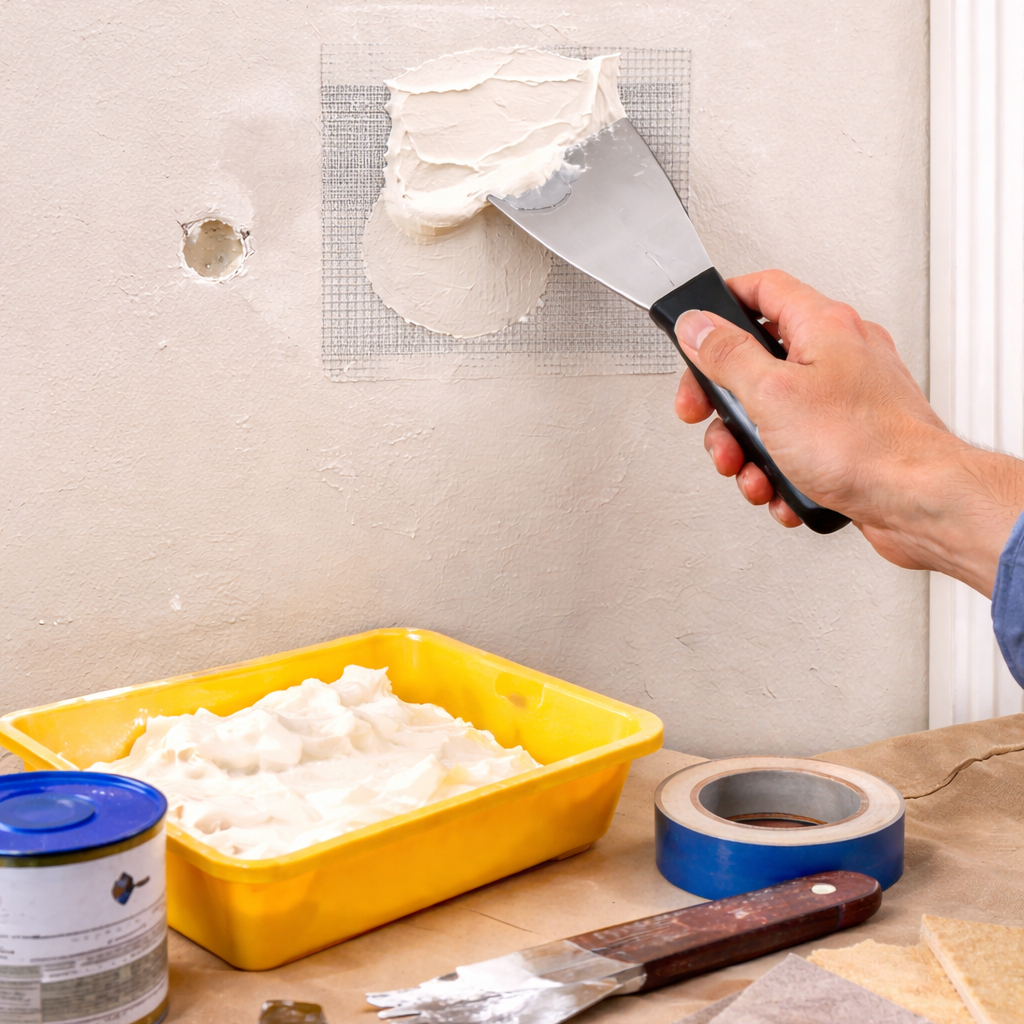
Walls and Ceilings
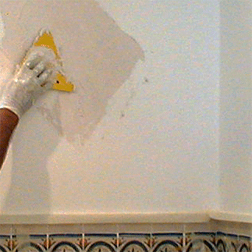
Proper preparation of walls and ceilings is critical to achieving a smooth, professional finish. Begin by removing any nails, screws, anchors, or loose paint using a hammer, pliers, or scraper as needed. Any unstable or flaking material must be removed before repairs begin.
Fill small holes, dents, and surface imperfections using a lightweight spackling compound or drywall compound, applied with a putty knife or trowel. For larger holes or damaged areas, install a wall patch or cut a piece of drywall to size, then tape the seams with drywall tape. Apply drywall compound over the repair, “floating” the edges outward so the patch blends smoothly into the surrounding surface.
Allow the compound to dry thoroughly. Large repairs may require a second (or third) application, with drying time between coats. Once fully dry, sand the surface smooth. Final sanding should be done with 220-grit sandpaper to eliminate ridges and feather the edges.
Use painter’s tape to mask all moldings, trim, ceilings, and adjacent surfaces. Prime all patched or repaired areas with an appropriate primer to prevent flashing and uneven absorption. For most interior wall surfaces, a water-based primer will be sufficient. Once primed and allowed to dry thoroughly, apply the base coat (for decorative finishes) or the finished coat (for a one-color process).
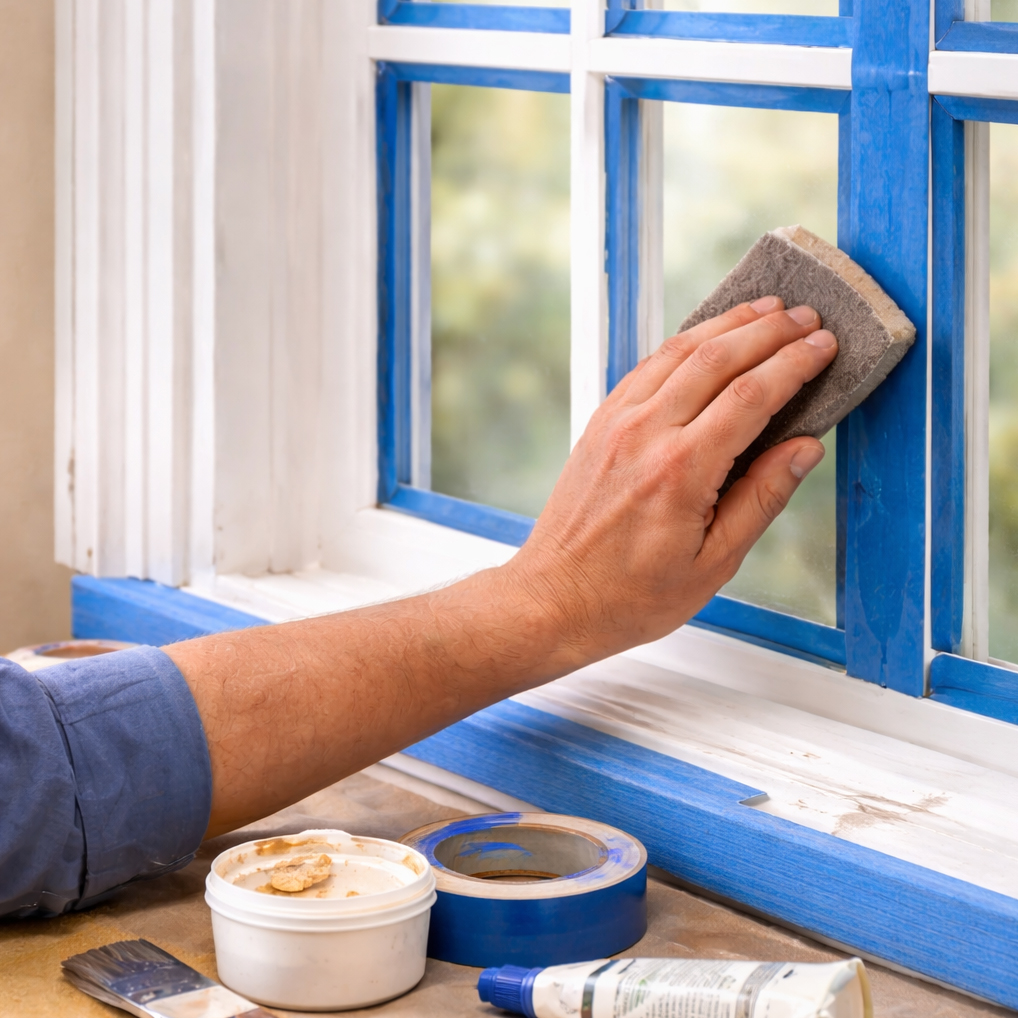
Windows, Doors and Trim
Preparation of windows, doors, and trim requires careful attention to detail, as these surfaces are highly visible and subject to frequent use. Begin by removing all nails, screws, hardware, curtain rods, and window dressings. Clean the surfaces thoroughly to remove dust, oils, and residue.
Tape off glass areas and adjacent casings where appropriate. Sand the surface to smooth brush marks, raised grain, or irregularities, paying special attention to edges and profiles.
Where needed, patch holes, cracks, or open joints with wood filler, using a putty knife. Allow to dry fully, then sand smooth using 220-grit sandpaper. Repeat if necessary. Remove all sanding dust before proceeding.
Prime the surface with the appropriate primer for the material and finish system. When thoroughly dry, apply the base color (for decorative finishes) or a finished coat (for a one-color process).

Use these 5 easy guidelines to ensure proper base preparation for any surface you're working on.
Envision the Finished Product
Clearly define the final look and technique before beginning so your preparation matches the desired outcome.
Patch and Fill
Repair all holes, cracks, and surface imperfections to create a smooth, uniform foundation.
Sand
Sand the surface to smooth repairs and create tooth for proper adhesion of subsequent layers.
Prime
Apply the correct primer to seal the surface and ensure consistent adhesion and finish quality.
Apply Base Coat
Apply an even base coat to establish the foundation for decorative techniques or the final finish.
Envision the Finished Product
Begin by clearly defining the desired final appearance and technique, as this decision directly influences how much preparation is required. For example, a piece of furniture intended to have a distressed, folk-art, or primitive finish may benefit from visible wear, brush marks, or minor imperfections, allowing you to minimize sanding and filling. In contrast, surfaces prepared for gilding, high-gloss lacquer, trompe l’oeil, or fine faux finishes demand an exceptionally smooth substrate, as even the smallest flaw can telegraph through thin metal leaf, glazes, or reflective finishes. Understanding the end goal ensures that your preparation supports—rather than undermines—the finished effect.
Patch and Fill
Address all surface defects before moving forward, as unfilled imperfections will remain visible after painting or decorative treatments. Nail holes, picture hook damage, cracks, dents, and chipped edges should be repaired using materials appropriate to the surface. Wood filler is ideal for doors, windows, trim, moldings, and furniture, while plaster patch or spackling compound should be used on drywall or plaster walls and ceilings. For larger repairs, apply filler in layers, allowing proper drying between applications to avoid shrinkage and cracking.
Sand
Sanding smooths repairs and prepares the surface for adhesion. Begin with a coarser grit (such as 100–120 grit) to level patched areas, then progress to finer grits (220–340 grit) to blend repairs seamlessly into the surrounding surface. On wood surfaces, always sand in the direction of the grain to avoid scratches that can become visible after finishing. Proper sanding is especially critical for finishes like glazing, staining, or gilding, where surface texture plays a major visual role.
Prime
Priming seals the surface, improves adhesion, and creates a uniform base for subsequent layers. A water-based primer is suitable for most interior applications, including drywall, plaster, and previously painted surfaces. However, a fast-drying oil-based primer is recommended for challenging substrates such as stone, brick, metal, or surfaces with heavy staining, as it provides superior stain blocking and adhesion. Choosing the correct primer prevents bleed-through, flashing, and uneven finish absorption.
Apply Base Coat
Apply the base color evenly to establish the foundation for the final treatment. The choice of base coat—water-based or oil-based—should align with the intended finish. For example, water-based paints are often used under acrylic glazes or modern faux finishes, while oil-based paints may be preferred for traditional decorative techniques or oil gilding systems. The base coat not only sets the color tone but also affects the working time, translucency, and overall success of the finished surface.
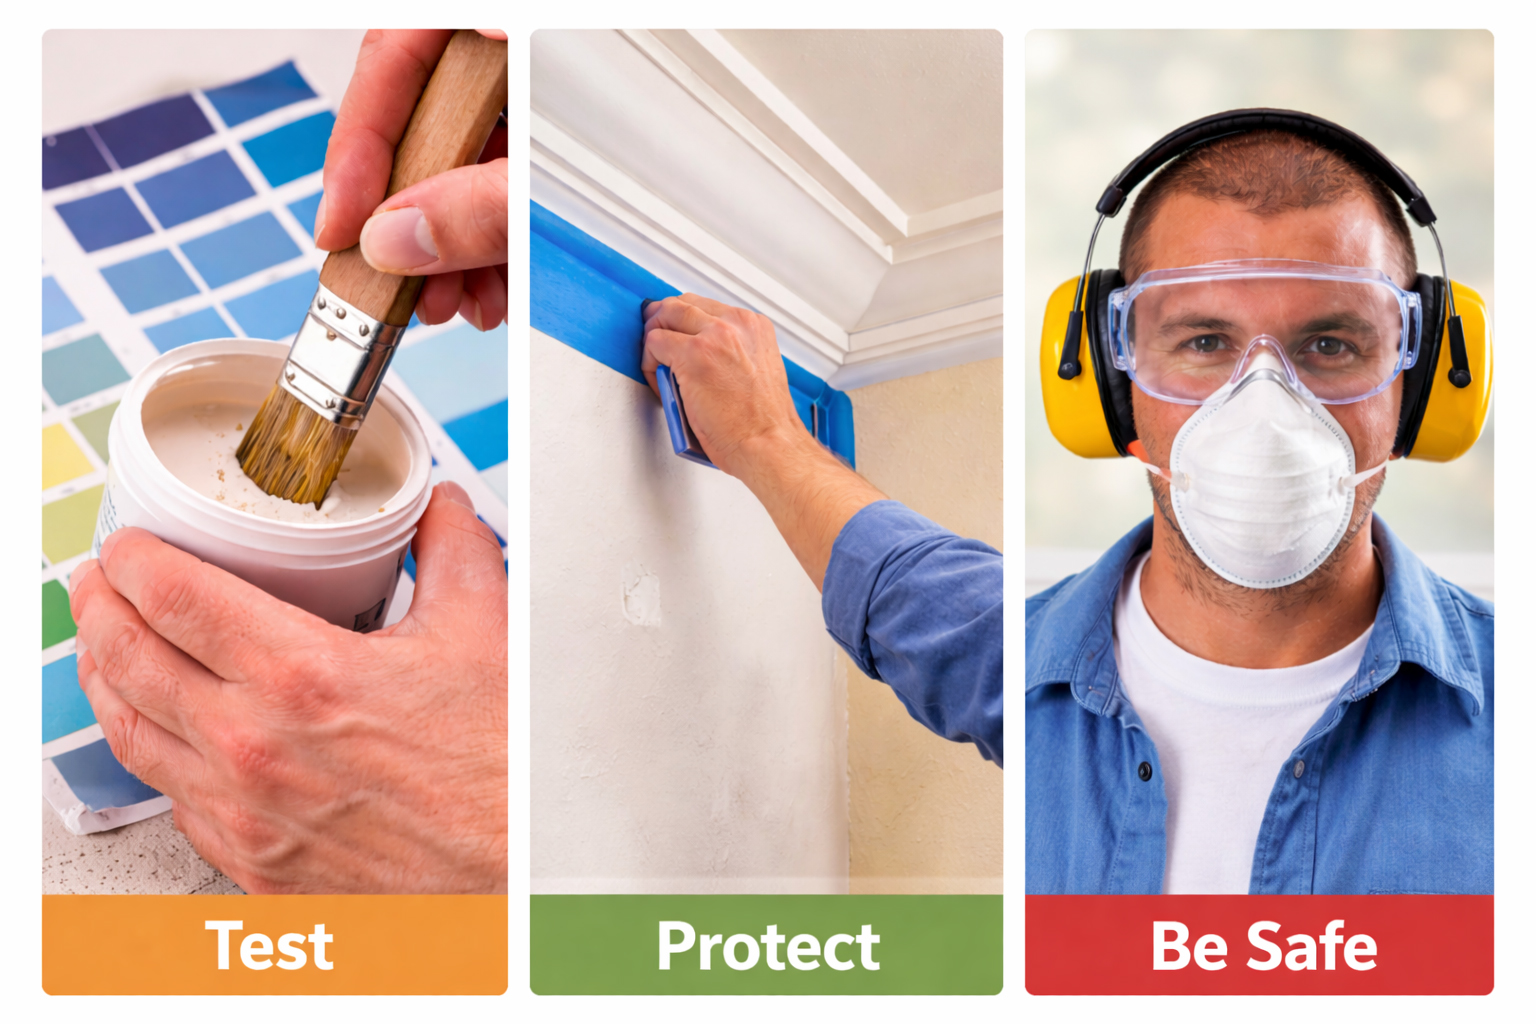
3 steps to success!
Following these 3 basic precepts will ensure successful results with every project.
Test
Always test materials, colors, and techniques on a sample area before committing to the final surface.
Protect
Protect surrounding surfaces, furnishings, and finished areas to prevent damage and ensure clean results.
Be Safe
Use proper safety equipment and follow best practices to protect yourself throughout the project.
Test
Before beginning any project, always test materials and techniques on a small, inconspicuous area or on a sample board. Testing allows you to confirm product compatibility with the surface and to preview the final appearance before committing to the full project. Creating sample boards is especially valuable when working with decorative finishes such as glazing, layered color effects, or water-based and oil-based glaze coats, where transparency, working time, and color shift can vary. Testing also helps you refine application methods, adjust drying times, and avoid costly mistakes on the finished surface.
Protect
Spills, splatters, and drips are an unavoidable part of paint and decorative finish application, making protection essential. Always cover floors, furniture, and adjacent surfaces with drop cloths, plastic sheeting, or rosin paper, and mask vulnerable areas using painter’s tape. Proper protection minimizes damage to fabrics, wallpaper, finished furniture, and architectural details. Taking the time to mask carefully can significantly reduce cleanup time and prevent irreversible damage.
Before applying tape, always test it on a small, hidden area. Wallpaper can tear easily, and finished surfaces such as lacquer, varnish, or polished furniture may lift when tape is removed. Remove tape as soon as the painted or finished area is complete, or at the end of each workday. Tape left in place too long can dry out, leave residue, or pull away underlying finishes, making removal difficult and potentially damaging.
Be Safe
Safety should always be a priority when working with paints, stains, varnishes, and decorative materials. Read all product labels carefully, as some materials contain hazardous or toxic components. Work in well-ventilated areas whenever possible, allowing fresh air to circulate and fumes to dissipate. Wear appropriate protective gear, including gloves, eye protection, and respiratory protection when required. Take regular breaks away from the work area to access fresh air and reduce prolonged exposure, ensuring a safer and more comfortable working environment.
Decorative Paint Effects
 Plaster Effects
 Antique Center
 Wall Effects
 Gilding Techniques
 Furniture Effects
 Faux Effects
Decorative Plaster Effects
 Basic Plaster Finish
 Basic Antique Plaster
Venetian Plaster
Basic Antique Plaster
Venetian Plaster
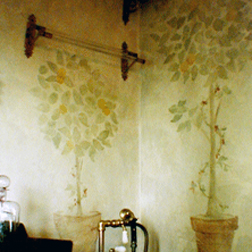 Simulated Fresco
 Hand Painted Details
 Aged Plaster
Gilding Center
 Exterior Gilding
 Gilding Metal
 Gilding Glass
 Antiquing Gold Leaf
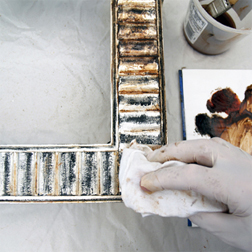 Antiquing Silver Leaf
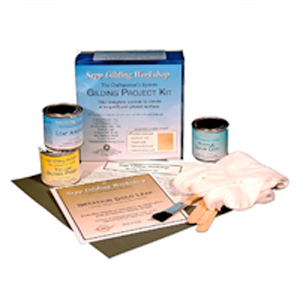 Gilding Kits
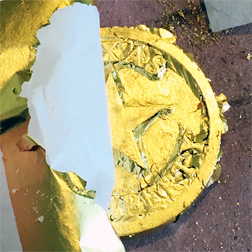
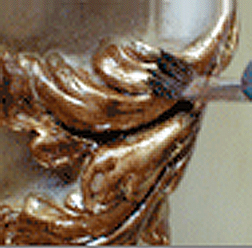
Oil Gilding Video Tutorial
Quick Dry oil size gilding. This detailed demonstration shows you how to apply genuine gold, Silver, imitation gold, aluminum and copper leaf to objects and furniture using the classic 3 hour oil size method. Brought to you by the folks at gildedplanet.com, you'll learn about types of adhesive, testing for 'tack' and drying rates, easy leaf application tips and cleaning and burnishing the leaf.
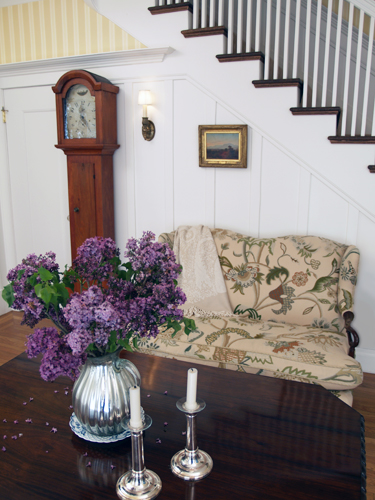
Early American Style
Colonial Amercians drew inspriation from their European heritage. Curent design styles would filter across the ocean and become reinventedin early America. Proportion and scale took reign over ornementation, A neutral color palette of grey blue, greens and rose pinks is readily apparent.
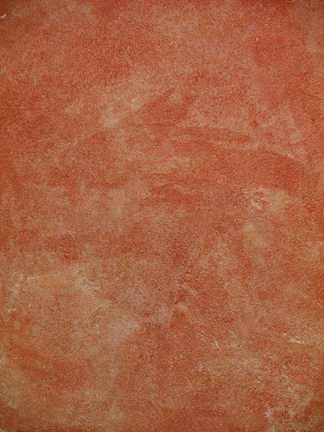
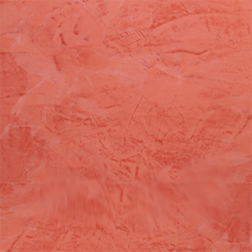
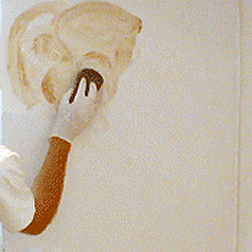
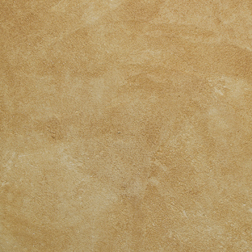
Stucco Rustico - Aged Plaster
Stucco Rustico is a Traditional interior and exterior textured plaster that epitomizes the rustic old world charm commonly associated with Tuscan environments. I love this treatment for its ease of application and the natural, organic glazed appearance that results when using mineral based plasters and glazes. Whether a rough application or a smooth finish, this treatment holds true to the test of time and, in fact, feels as if time itself stopped to wash the walls personally.
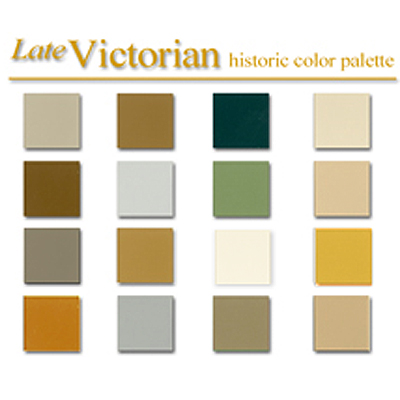
The Rustic Color Palette
The Rustic Style color palette falls within a distinct range of color tones and is essential in creating a successful Rustic interior. By using the appropriate color tones you can create a variety of design styles ranging from Period and Historic, regional or thematic. Color helps define our experiences within an interior and exterior environment. It affects us on a physical, emotional, and spiritual level and can be calming and passive, expressive and vital.
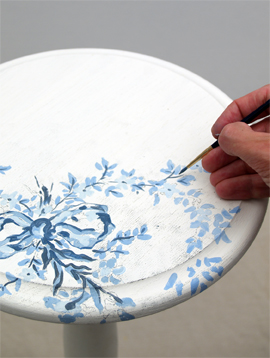
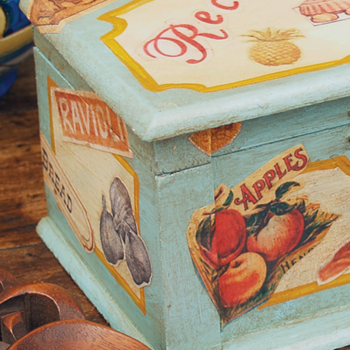
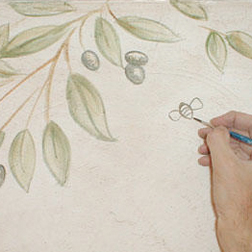
Painted Floral Details
Floral patterns used as accents in fabrics and furniture are common place details in the English Country home. These graceful and organic patterns complement the cozy interior of this style and work particularly well with lace window treatments, an heirloom tea service set and the natural and rustic charm of wooden ceiling beams and slightly irregularly textured walls.